
Discover the secrets to elevate your seafood dishes with the convenient and flavorful method of cooking fish in parchment paper. This unique technique ensures your fish stays tender and juicy while locking in flavors, making it a healthier and cleaner cooking option. Whether you’re a seasoned home cook or new to the kitchen, cooking fish in parchment paper offers a simple yet elegant solution for meal prep and impressing your guests. From classic Mediterranean-style preparations to modern twists inspired by celebrity chefs like Ina Garten and Jamie Oliver, this cooking method is versatile enough for any occasion. Learn how to master the art of wrapping your fish in parchment paper, including tips on cooking times, temperature settings, and pairing it with delicious sides like potatoes and vegetables. Find out why chefs and food enthusiasts alike are raving about this cooking technique and how it can transform your dining experience. Dive into the world of fish en papillote and discover the countless ways to enjoy this beloved method. Ready to give it a try? Let’s get started!
Key Takeaways
– Use the shiny side up for cooking fish to ensure even heat distribution and prevent sticking, while saving the dull side for tasks like rolling dough.
– Avoid parchment paper for high-heat scenarios above 400°F to prevent burning and for sticky or heavy ingredients.
– Measure and position parchment paper slightly larger than your pan for a perfect fit and easy removal.
– Follow proper baking steps by placing dough or batter carefully on the parchment, baking as instructed, and cooling before removing.
How to Cook Fish on Parchment Paper
To cook fish on parchment paper, follow these steps for a delicious and mess-free meal:
- Prepare Your Tools: Use a large baking sheet lined with parchment paper. Ensure the parchment is unbleached for a non-stick effect.
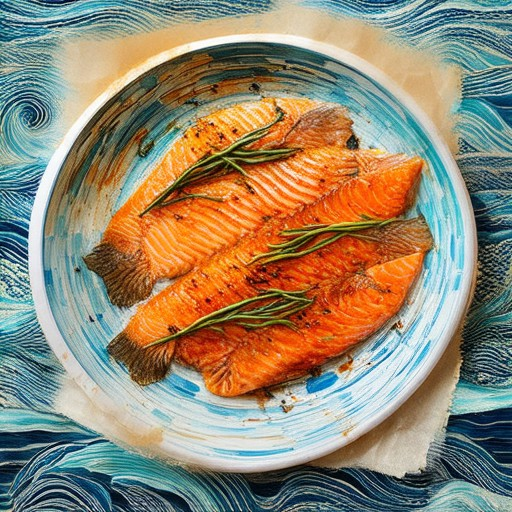
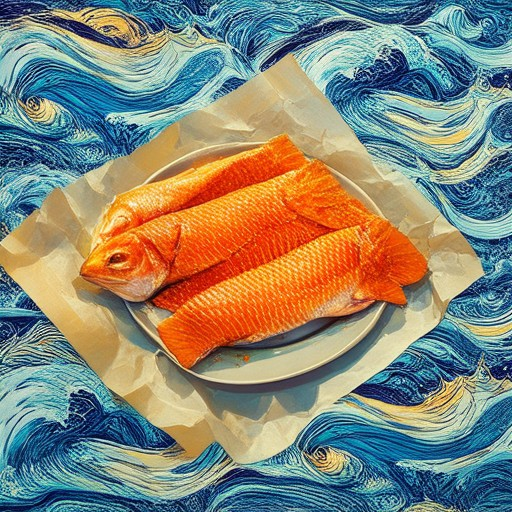
- Choose Your Fish: Opt for fatty fish like salmon or trout for richer flavor, or lean fish like cod or tilapia for a lighter option.
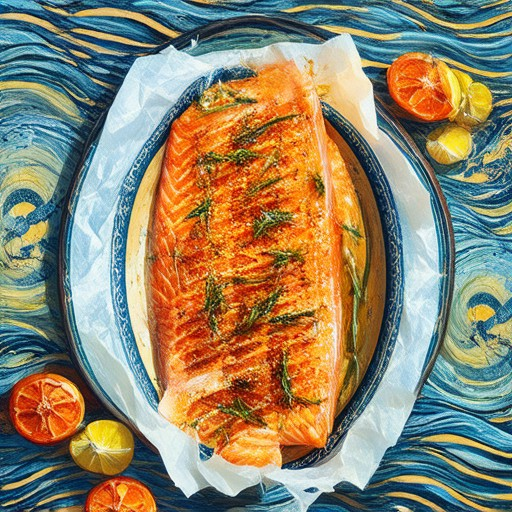
- Season the Fish: Lightly brush the fish with olive oil or butter. Season with your preferred herbs and spices, such as lemon zest, dill, thyme, or rosemary.
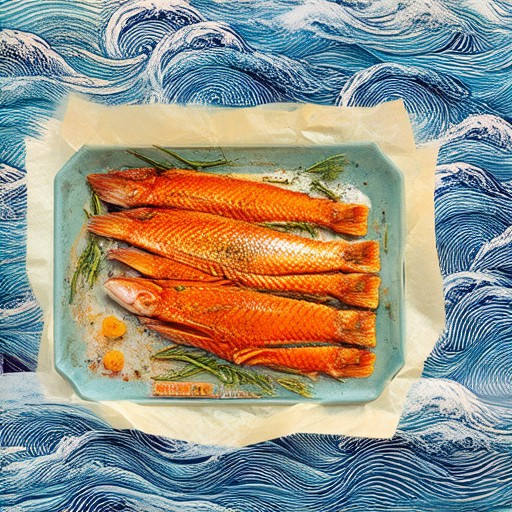
- Cooking Setup: Place the fish skin-side down on the parchment-lined baking sheet. For thicker fillets, increase cooking time slightly.
- Heat and Cook: Preheat your oven to 375°F (190°C). Bake for 4-6 minutes per side until the fish reaches an internal temperature of 145°F (63°C). Check with a food thermometer for doneness.
- Rest and Serve: Allow the fish to rest for 2-3 minutes before serving. Garnish with lemon wedges, capers, or fresh herbs for added flavor and presentation.
Tips:
- Add a splash of white wine or broth for extra flavor.
- Experiment with seasonal vegetables like asparagus or cherry tomatoes placed alongside the fish on the parchment.
- For a crispy skin effect, finish under a preheated broiler for 1-2 minutes before removing from the oven.
Enjoy your perfectly cooked fish with minimal effort and maximum flavor!
How Long to Cook Fish En Papillote in the Oven?
The cooking time for fish en papillote varies based on several factors:
- Fish Size and Thickness: Thicker fish fillets may take 20-25 minutes, while thinner ones can cook in 15-18 minutes.
- Oven Temperature: Typically cooked at 400°F (200°C), ensuring the fish cooks without burning the paper or overcooking the fish.
- Oven Preheat Time: Allow the oven to preheat fully before placing the papillotes to ensure even cooking.
- Type of Fish: Different fish have varying thicknesses and densities, affecting cooking time.
- Portion Size: Adjust cooking time upwards for larger portions and downwards for smaller servings.
For best results, start by estimating 20-25 minutes for thicker fillets and adjust downward for thinner ones. Check doneness by peeking through the paper or using a timer, ensuring the fish flakes easily with a fork.
Baking Fish at 350°F vs. 400°F
When deciding whether to bake fish at 350°F or 400°F, several factors come into play:
- Temperature Range:** Both temperatures fall within the typical range for baking fish (375-450°F), making them suitable options depending on your preferences and fish type.
- Cook Time:** Baking at 400°F reduces cook time, typically taking about 15-18 minutes for a 4-inch thick piece of fish. Conversely, 350°F may take closer to 20-25 minutes, allowing for more moisture retention.
- Temperature Impact:** Higher temperatures like 400°F can risk overcooking, leading to dryness or flakiness, especially in thicker fish. Lower temperatures at 350°F may help maintain moisture and tenderness.
- Fish Type:** Different fish have varying fat content and thickness, influencing how well they hold up at each temperature. Fatier fish may benefit more from higher heat for richer flavors, while leaner fish might prefer lower temperatures to stay tender.
- Oven Calibration:** Always use a thermometer to ensure your oven reaches the desired temperature, adjusting as necessary for even cooking.
- Moisture Retention:** Using a covered baking sheet or dish can help preserve moisture, especially at lower temperatures, preventing the fish from drying out.
Ultimately, the choice between 350°F and 400°F depends on your preferred cooking speed, fish type, and desired outcome in terms of texture and flavor.
Which Side of Parchment Paper Faces Up?
The shiny or glossy side of parchment paper should be placed face up on your baking sheet or cake pan. This allows the shiny surface to directly contact your food, facilitating even heat distribution and preventing sticking. The dull side is typically reserved for tasks like rolling out dough, as it reduces stickiness.
When Not to Use Parchment Paper
Parchment paper is a versatile tool in the kitchen, but it’s not suitable for every situation. Here are key scenarios where parchment paper should not be used:
- High Heat Baking: Parchment paper has a low melting point and can scorch or burn at temperatures above 400°F (200°C). Avoid using it for recipes requiring prolonged exposure to high heat.
- Wet Surfaces: Parchment paper doesn’t absorb moisture and can slide off damp surfaces. It’s unsuitable for lining pans with wet batter or dough.
- Sticky Ingredients: Parchment paper may not release baked goods with sticky toppings like caramel or toffee, making cleanup difficult and potentially damaging the item.
- Heavy Batter/Dough: Thick mixtures like pie dough or bread dough can weigh down parchment paper, causing it to tear or sag during baking.
- Rolling Dough: For rolling out dough, professionals often use marble slabs or cutting boards due to their stability and lack of slip, which parchment paper may not provide effectively.
- Specific Recipe Instructions: Always check the recipe for specific advice. Some chefs and bakers recommend avoiding parchment paper for certain tasks based on ingredient compatibility or technique requirements.
How to Correctly Use Parchment Paper
To ensure your baked goods turn out perfectly every time, follow these steps for using parchment paper effectively:
- Measure and Size the Parchment Paper: First, measure the dimensions of your baking pan. Cut the parchment paper slightly larger than the pan’s size, allowing a 1-inch overhang around all edges. This prevents sticking and allows for easy removal.
- Carefully Position the Parchment: Place the parchment paper on the baking pan. If desired, gently crease the edges along the pan’s sides to secure the paper in place. This helps keep the parchment steady during baking.
- Add Your Dough or Batter: Once the parchment is set, carefully pour or spoon your dough or batter onto the paper. Center the mixture to ensure even spreading and baking.
- Bake as Usual: Proceed with your recipe’s instructions, noting any specific baking temperatures or durations required for your dish.
- Remove Carefully: After baking, allow the parchment to cool slightly before removing the baked goods. Use a spatula to gently loosen any edges that may be sticking. Avoid pulling or twisting the parchment to prevent tearing.
Remember to use separate sheets of parchment for different tasks, especially when dealing with food dyes, to avoid staining. Choose the appropriate thickness based on the recipe’s needs, and align the parchment neatly for a polished presentation. By following these steps, you’ll achieve beautifully baked goods every time!


0 Comments